Making a Fur Coat

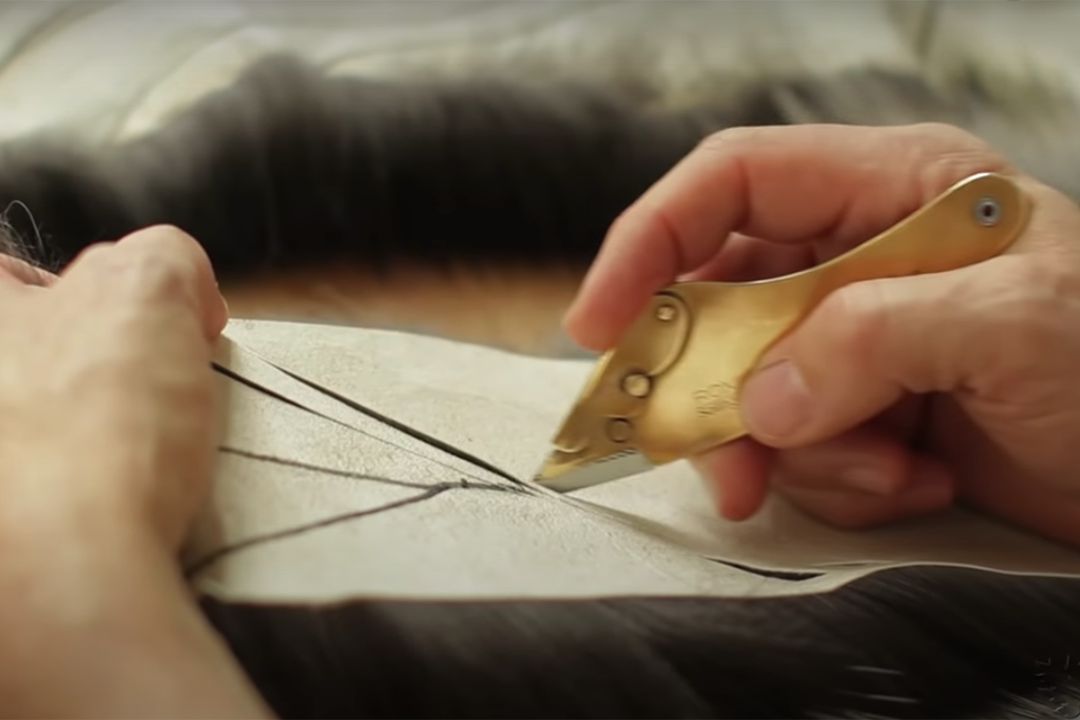
Photo: Fur Council of Canada
A designer can employ many techniques in making a fur coat, so these are just the main ones they’ll probably use. A standard fur coat takes between 40 and 60 hours to make, but expect this to double if bespoke details are required, such as a printed lining or Swarovski crystals.
Sketches and patterns
Step one is to make sketches, notes, patterns on canvas, and muslin models.
Pelt selection
The designer then selects which pelts to use, looking for close matches in terms of size, colour, hair density, texture, and leather thickness. If the pelts were bought as a bundle at auction, a skilled grader will already have done much of the work, plus farmed pelts tend to be very similar anyway as farmers strive for consistency in their product. But for wild pelts, and in particular if a grader has not already seen them, the task is more challenging, as no two are exactly alike.
Shearing
This step is optional, but is commonly applied these days to reduce the bulkiness of a garment. First the pelts are sprayed with steam to fluff the fur, then they are given a static charge to make the hairs stand up. The pelts are then fed into a precision machine that cuts all the hairs to a uniform length.
Letting out
This technique is unique to working with fur. Either by hand or using a machine that looks like a paper shredder, a pelt is cut into narrow diagonal strips. These are then sewn together again in such a way as to make the pelt longer and thinner than the original. When assembled into a long garment, these pelts appear seamless but are more flowing than if whole pelts were simply sewn together. However, letting out also leaves ripples in the fur, which are addressed by the next process.
Blocking
To remove the ripples left by letting out, the leather side is moistened to make it more elastic. It is then stretched over a board on which a pattern has been traced, and stapled onto the pattern. It is then left to dry overnight.
Trimming and assembly
The patterns for each piece are now traced onto the leather, and the pieces are cut out and assembled, either sewn by hand or using a special sewing machine. Slits are also made at this stage for features like pockets and buttonholes.
Cleaning and glazing
Dirt and excess oil are then removed from the garment by gently rubbing a fine powder into the fur. This powder is typically made of ground walnut shells and corncobs, with a very mild cleaning agent additive. Then it’s time for glazing, a process that combines steaming and ironing to bring out the fur’s natural lustre and sheen.
Finishing
Lastly it’s time for the finishing touches. Before adding the lining, lamb’s wool is tacked along the edges of the garment to add structure and help it hold its form. Starched cotton tape goes into the hem to keep the fur from stretching. Then it’s time for zips, buttons, shoulder pads, drawstrings, tags and the like, followed by a lining for the whole garment, typically of silk. As a final flourish, the maker’s label is sewn in.
